The NC flow has nine numbered steps. The app stepper lets you jump back to any step you've already completed; you can't jump ahead until each previous step is validated.
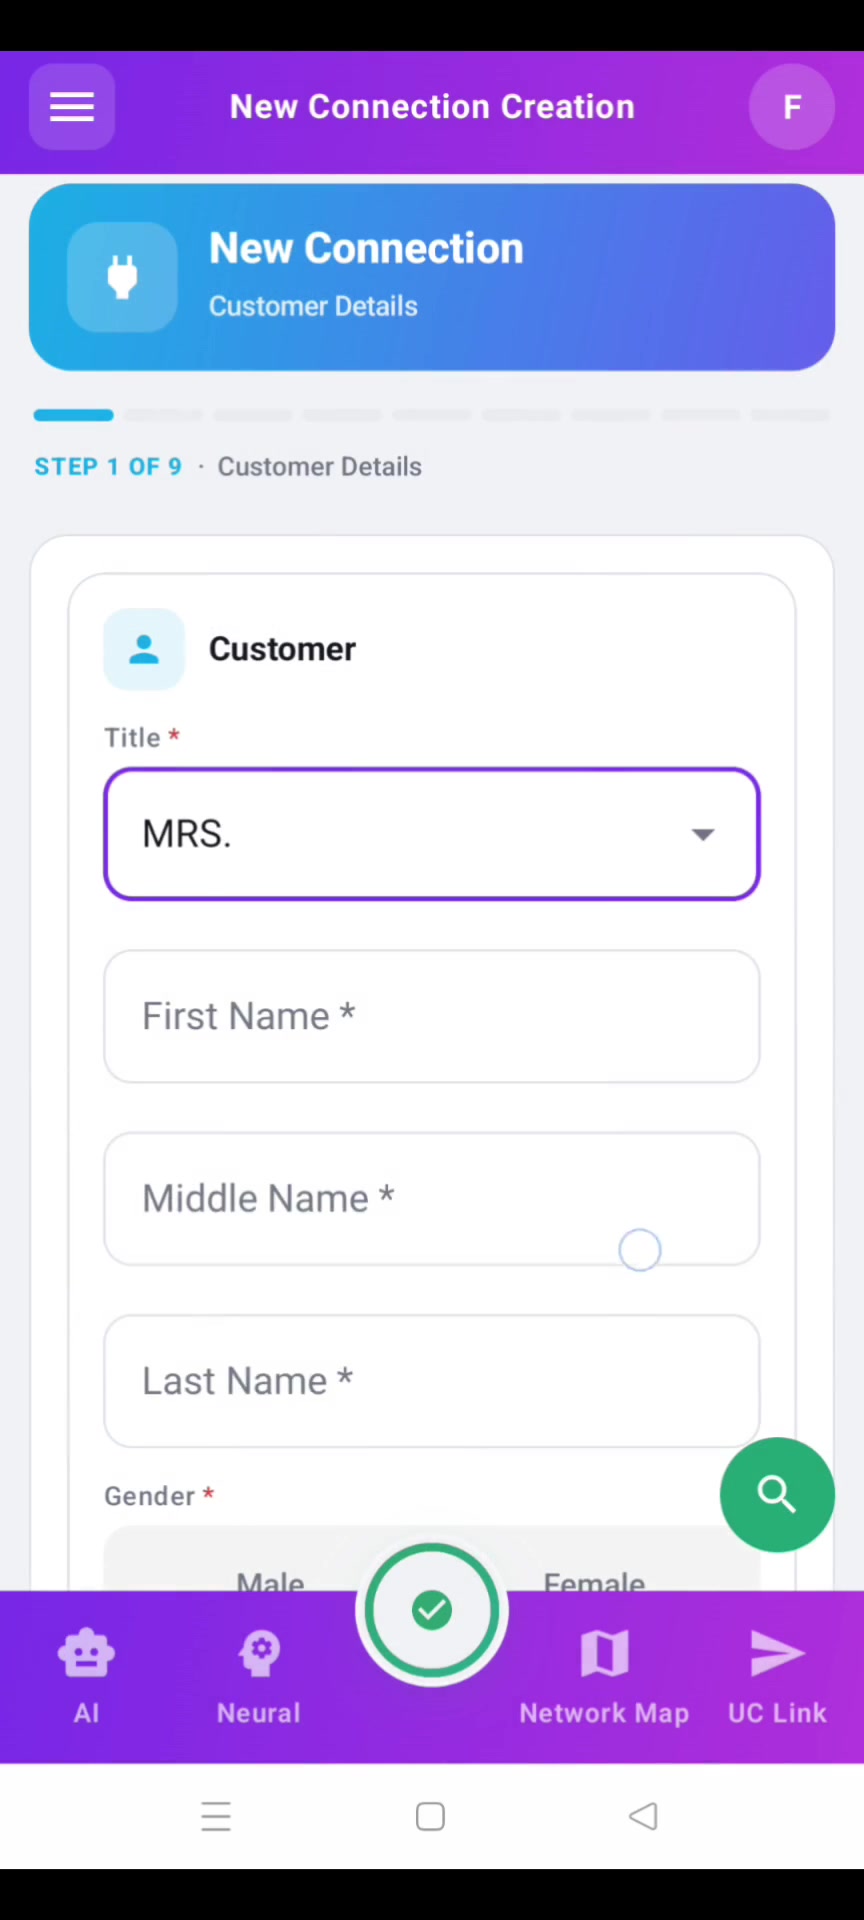
Customer Details
Open Tools → New Connection. Enter the customer's name, primary mobile, alternate mobile (optional), email, and ID proof type. Most fields are validated as you type — phone numbers must be 10 digits, email must look like an email.
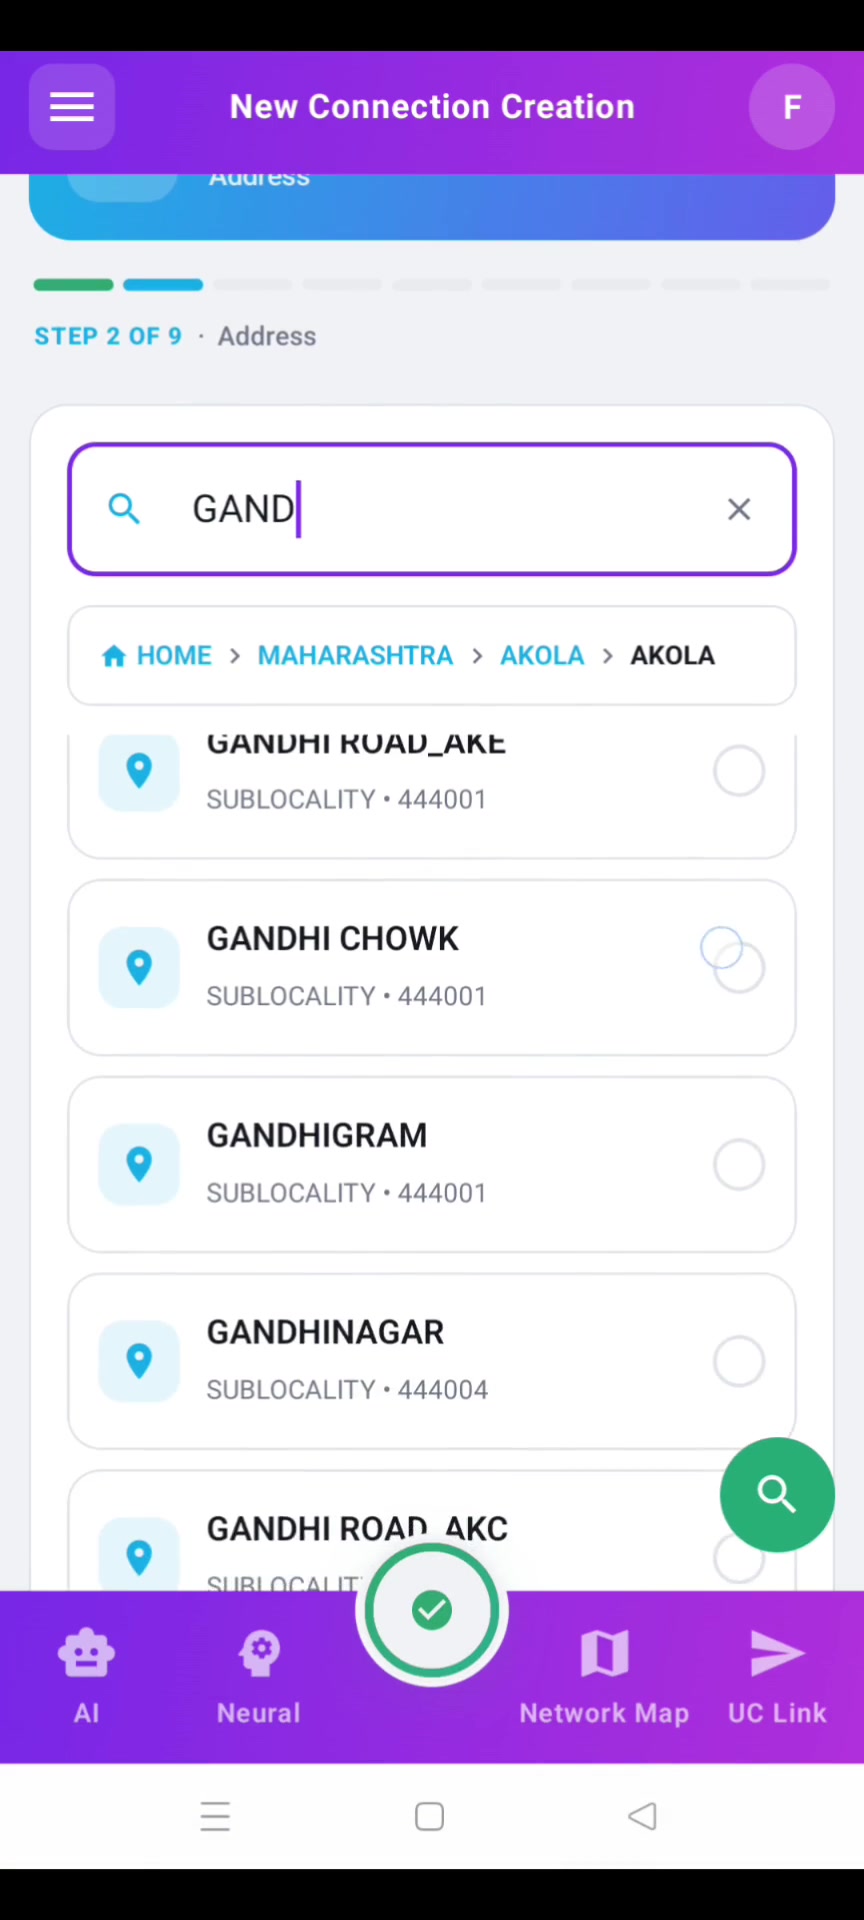
Address
The address step uses the BSNL service-area lookup. Enter PIN, locality, and street; the form resolves the right SSA and exchange automatically. If the lookup fails (rare), you can override the SSA manually.
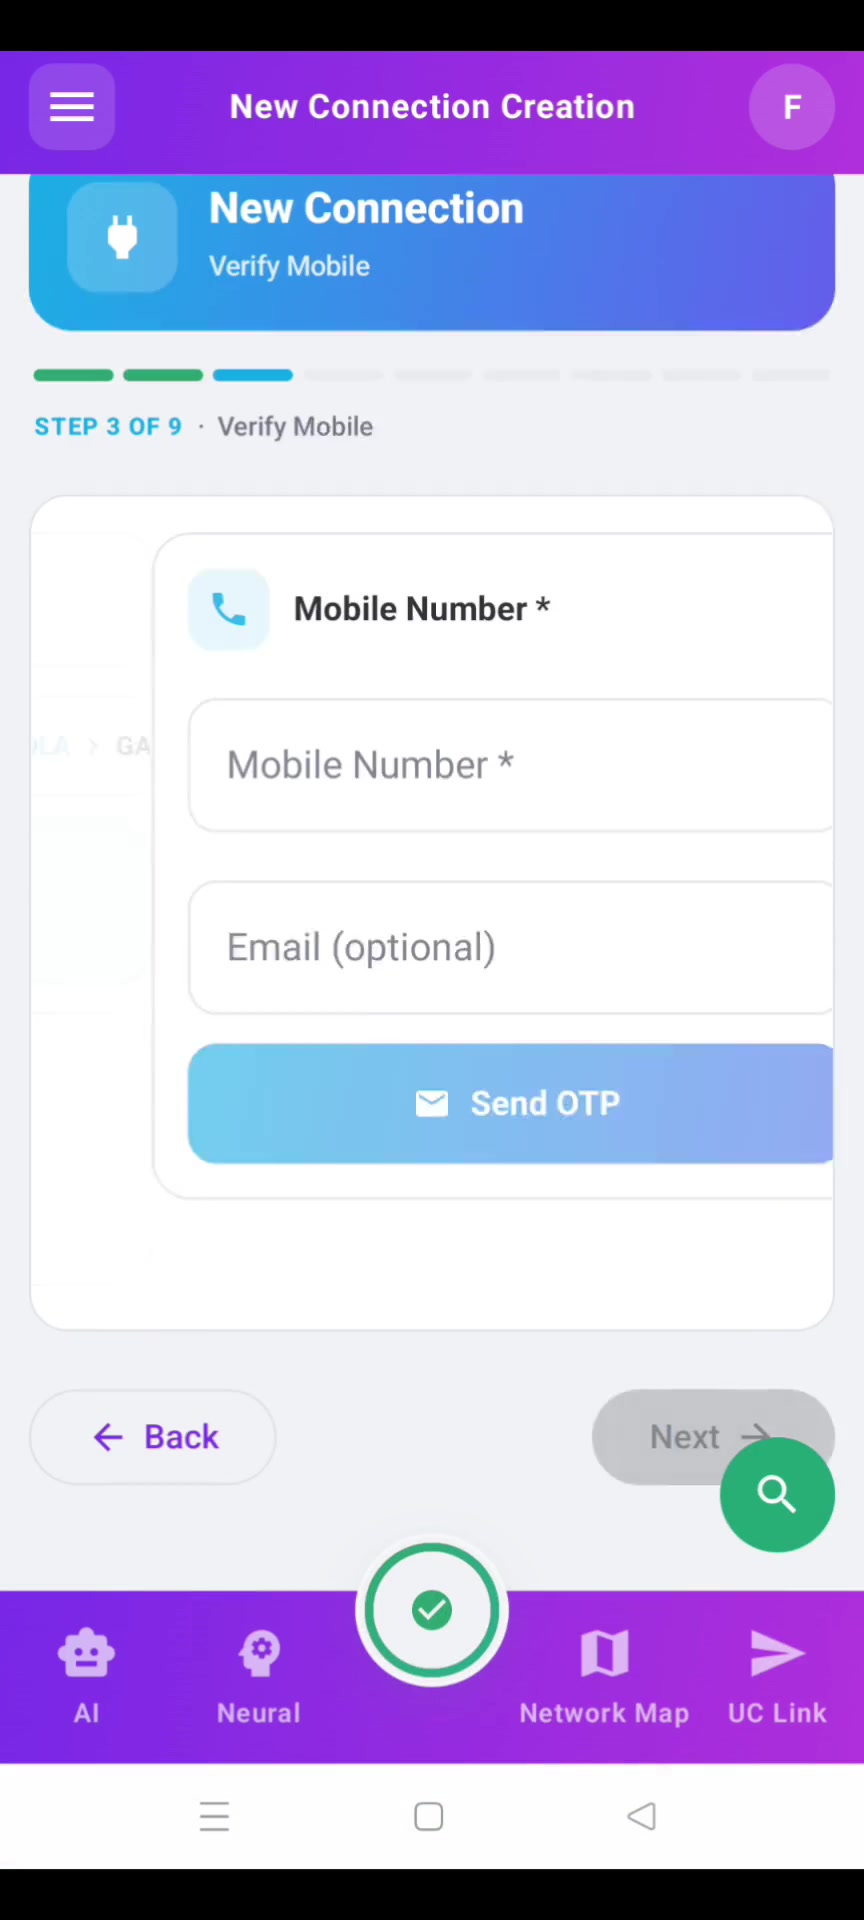
Verify Mobile
An OTP is sent to the primary mobile. Enter it to confirm the customer can be reached. Resend is rate-limited to once per minute.
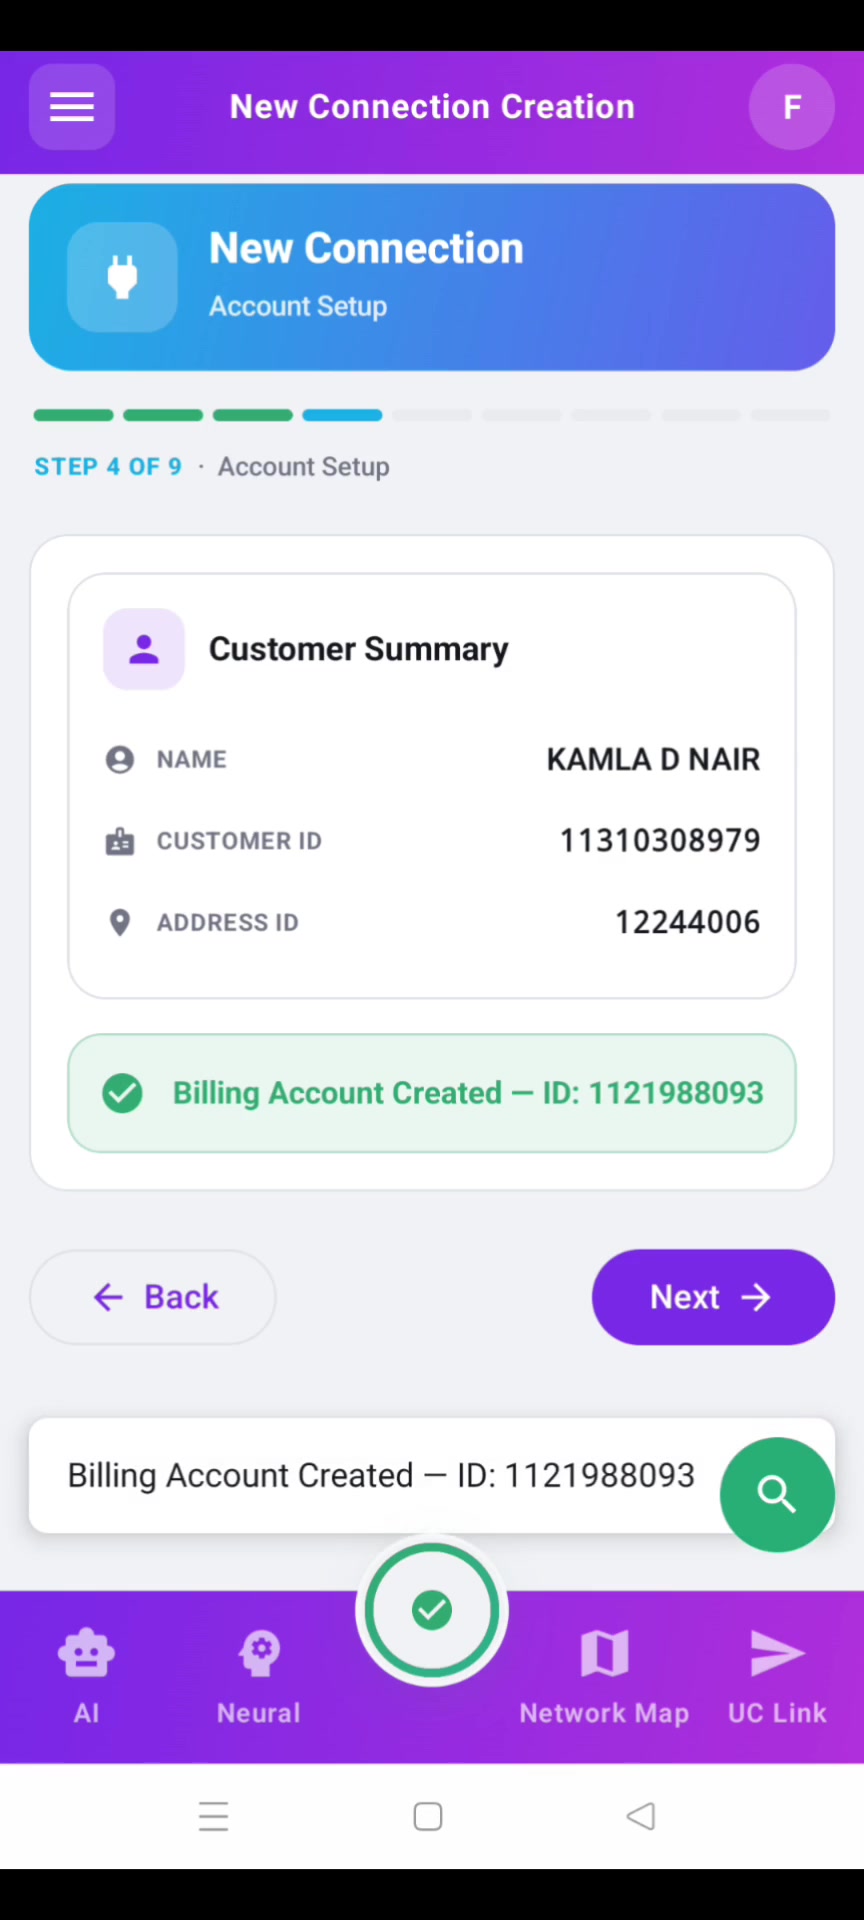
Account Setup
Generate the customer's BSNL portal credentials. The app picks a CLLI-based username and a strong password; you can override the password if the customer prefers. Credentials are saved to the customer record — share via the receipt at the end of the flow.
Franchise
Confirm the franchise (your TIP) under which this connection is being booked. For TIPs operating across multiple SSAs the picker shows only the franchises authorised for the resolved SSA.
ScreenshotStep 5 — Franchise picker for the resolved SSA.Select Plan
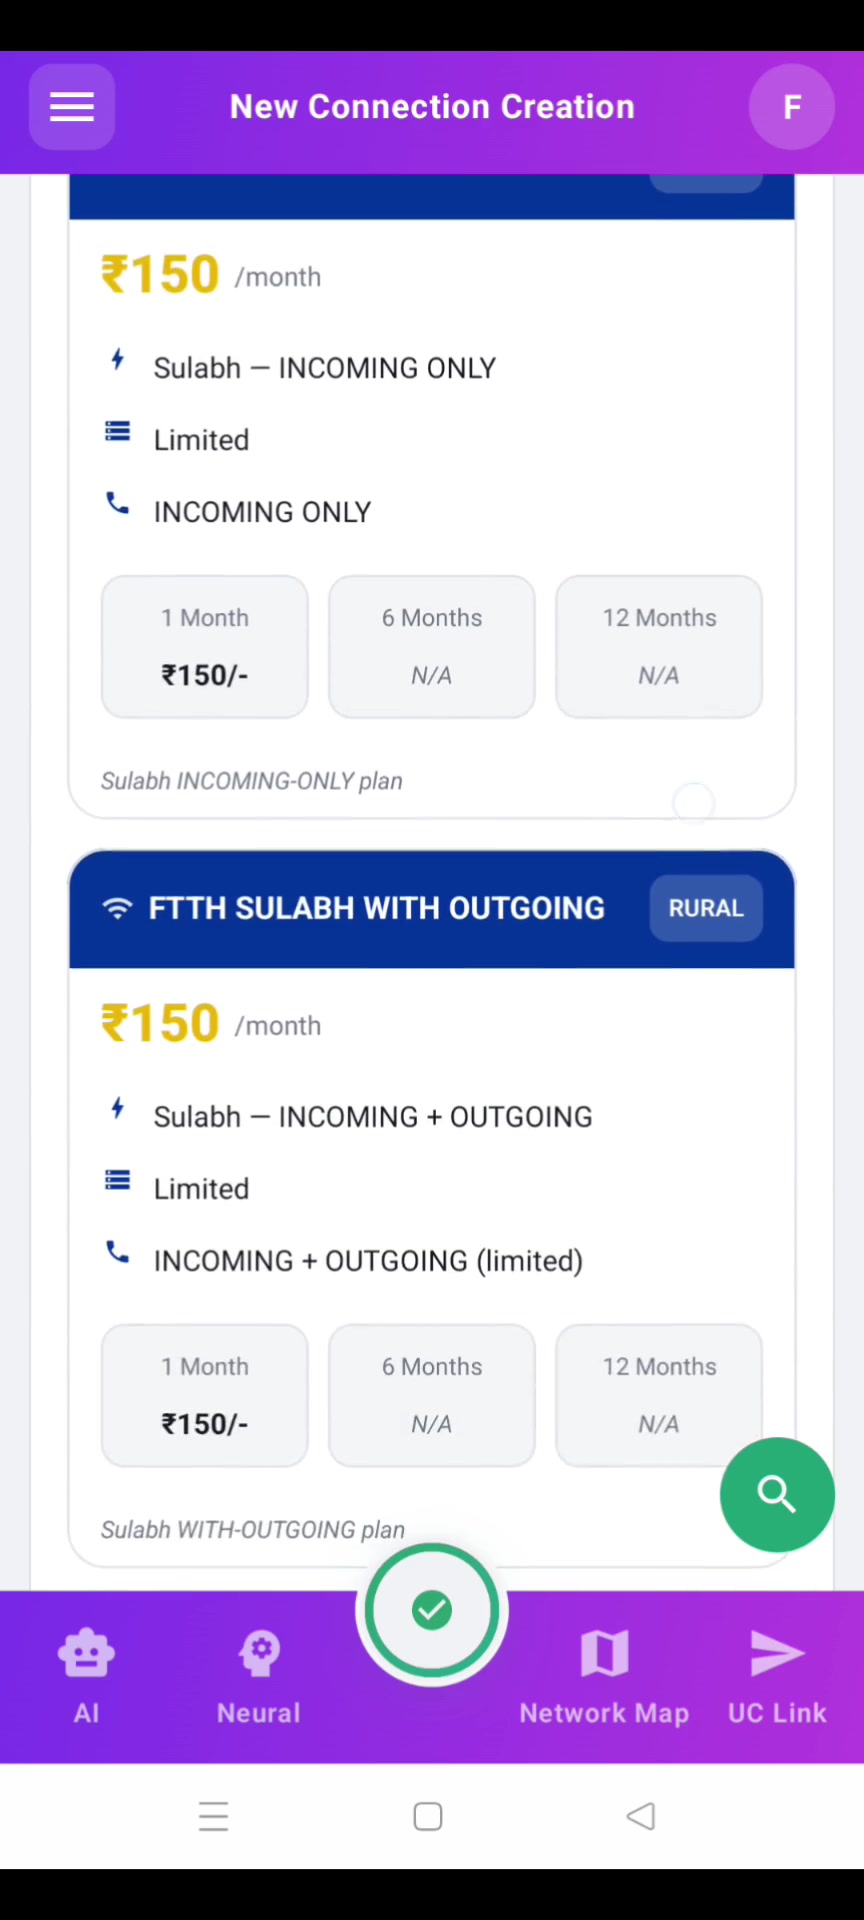
Pick a Bharat Fiber plan. Each card shows speed (download / upload), data cap (if any), validity, and rental. Plans are pulled live from the BSNL plan catalogue — what you see is what BSNL will charge.
Select Number
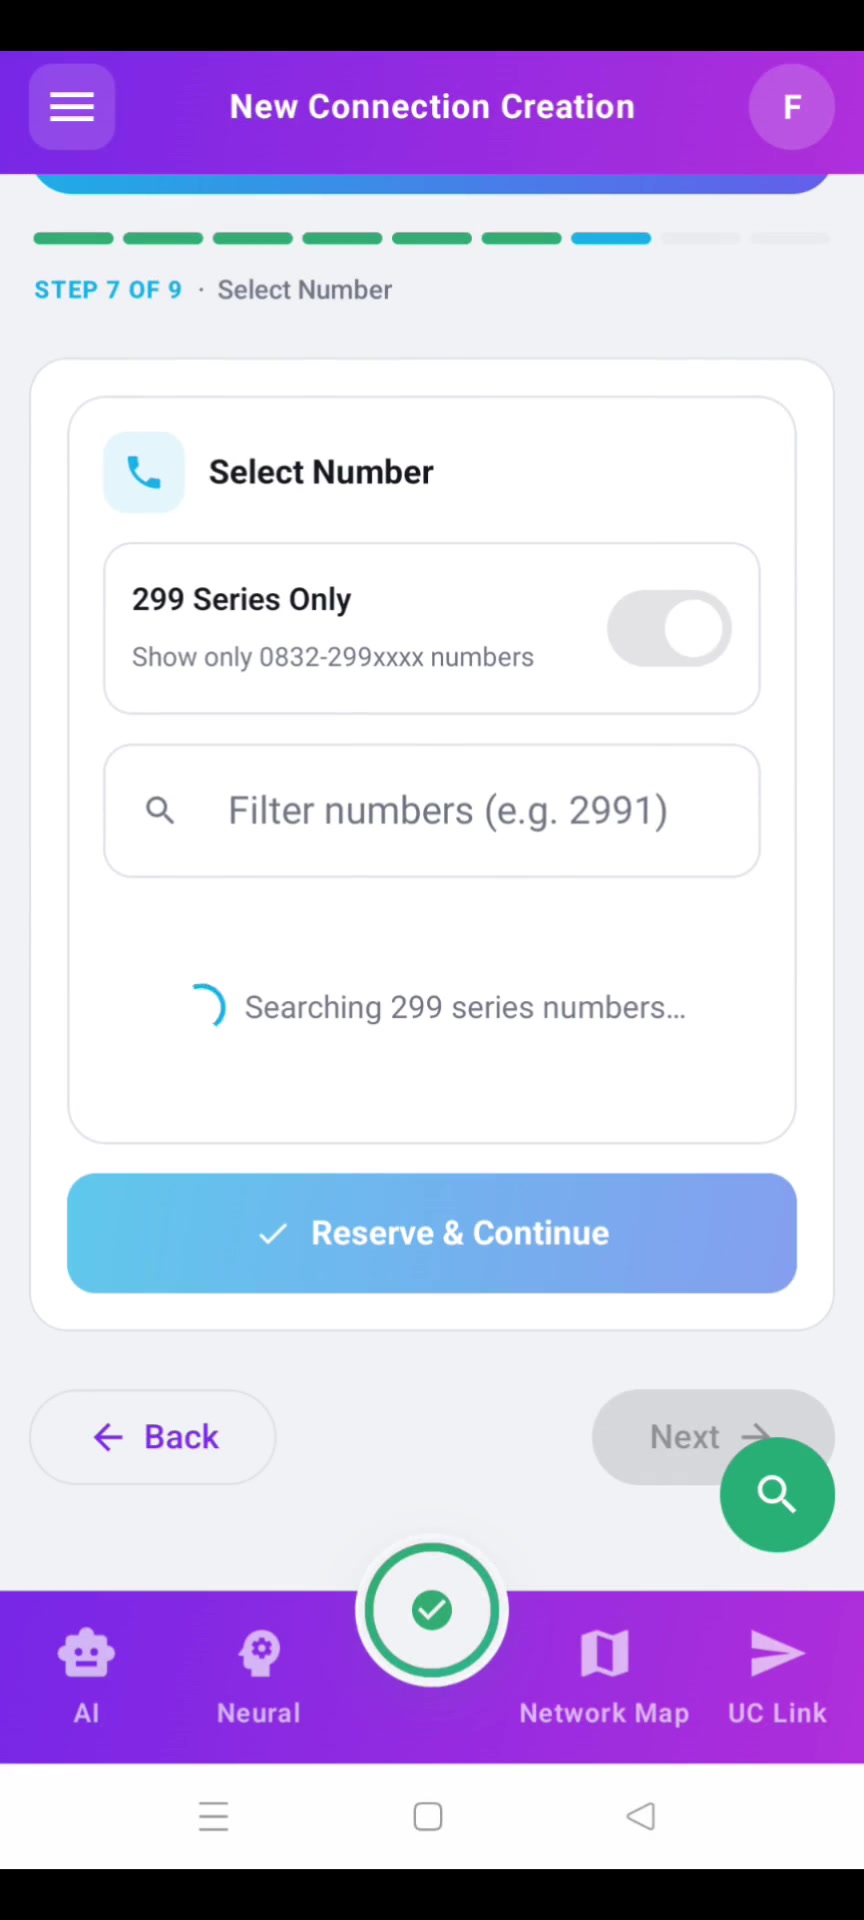
Pick the landline number to associate with this connection. The app pulls available numbers from BSNL's pool for the resolved exchange. Filter by starts with if the customer has a preference (numerology, memorability).
Service Config
The technical step. Fill the ONU MAC, the OLT it's connected to, the PON port, and the ONU number. Most fields auto-complete once you pick the OLT (the app reads from the live OLT table you onboarded under Admin setup).
ScreenshotStep 8 — Service Config with ONU MAC, OLT, PON port, ONU number.Review & Submit
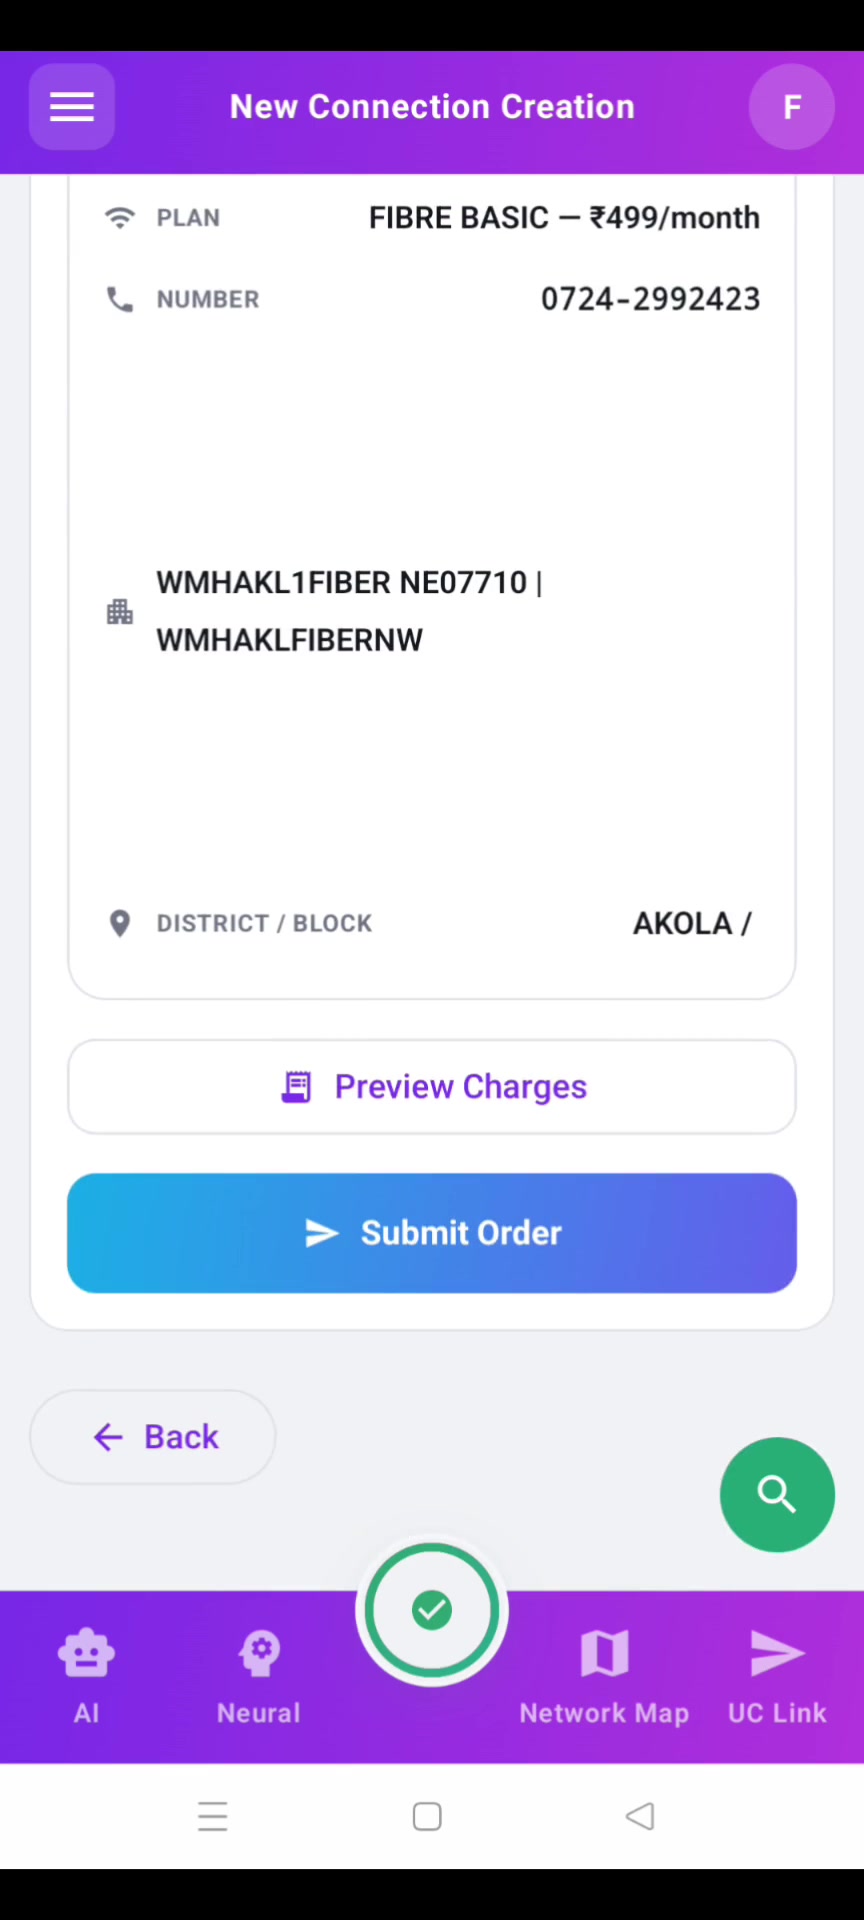
The final review screen shows every field from steps 1–8 in one column. Scroll once to verify, then tap Submit to BSNL. The app sends to the BSNL provisioning endpoint; you'll see one of:
- Accepted (green) — BSNL has the connection. The customer gets an SMS within 5 minutes.
- Validation error (amber) — BSNL rejected one field. The error names which step to fix.
- BSNL timeout (red) — the provisioning endpoint is slow. Retry in two minutes; the data is saved on your side.
Onboard VSOL, CDATA, or OPTILINK so step 8 above autocompletes.
Helpful?
Did this guide help you finish the flow?